Sunday, August 19, 2012

Deleting Recovery Partition


Today I was preparing an old hard drive for data backup when I had problems deleting 1 of its partitions.  I normally use Disk Management in under Control Panel -> Computer Management however when I right clicked on the partition everything is greyed except the help item.

The above image is not a screenshot of my pc but reflects the same issue

Because this hard drive used to belong to store bought laptop, it came with a recovery partition that is by default hidden and possibly write protected, which is the norm for most laptops today (along with bloatware).  I found this simple solution via sevenforums.com which hopefully helps others as it did for me quickly:
  • Go to command prompt
  • Type diskpart
Enter the following:
  • diskpart
  • list disk
  • select disk [whatever the disk number is] (e.g. your disk is #5 type: select disk 5)
  • list partition
  • select partition [Name of partition] (e.g. partition name is recovery: select partition recovery)
  • delete partition override 

Not my screenshot, just an example what to look for
  
A thorough guide on how to use diskpart commands you can find here.

This worked wonderful for me. It was quick and easy and no extra 3rd party software was needed.  Of course this will work with any of the O.S that has the diskpart utility (Windows 7, Server 2008, etc) so Win XP users or lower may have to use a utility like Partition Magic or Partition Wizard.  I also wanted to note since this was a secondary drive I was using, I did not have to boot into Win 7 recovery mode to make any changes as some people might need to if this is their boot drive they are working on.

You can view the full thread on it here.


Happy Tech-ing!

Friday, July 27, 2012

USB Emulation and USB Booting Harmony

Last week I spent the full 5 days trying to install Windows 7 and have my PC be able to dual boot with Ubuntu 11.10 (XBMCbuntu).

To say the least, for such a simple task it was a very long and tiring journey. Obstacle over obstacle, I conquered one after the next, some took a few hours, others a couple of days.  Yet Google was with me throughout my time of difficulty.

Praise be to Google

What I wanted to share was an issue I actually came across a long while back when I first installed XBMCbuntu from my 1GB USB key.

Problem: Computer does not boot up any USB key that is 2GB or lower. Seems to ignore the USB key and boots up Hard drive as normal.

As a quick rundown,  normally when you want to bootup your PC from USB key to run a different O/S or installation you would follow the 3 general rules:
  • Format USB key.
  • Transfer boot able ISO(s)/Files to USB key using special software that would also make USB key boot able.
  • Alter the bootup sequence either by bringing up boot device menu (after POST test) or in BIOS itself.
But the USB key still was not booting.

What gives?

Answer:  Switch the USB Storage Emulation to Hard Disk (applies to usb keys 2GB and lower)
Enter BIOS -> Intergrated Prepherials -> USB Storage Emulation -> Select Hard Disk

This setting forces BIOS to recognize USB Drives under 2GB as bootable hard drives.  If selected  as Auto or Floppy, the machine will treat the USB key has a floppy drive.  While I haven't had a chance to fully understand why this feature is needed in BIOS, I can say that majority of users that come across this issue are owners of Acer Computers (via google search) but it is possible users of other Manufactures  can come across the same issue.

Keep in mind I am only sharing this because this worked for me.  My machine is an Acer Revo 3610 that I use as a Media PC hooked up to my living room widescreen TV.  If you tried this and still cannot boot up from your USB Key you might want to try the same key on a different machine to isolate the issue.


Happy Tech-ing!

Sunday, July 15, 2012

Disk Mirroring in Server 2008

Hi Everyone,

I just wanted to add yet another quick reminder, this time a feature in Windows Server 2008.  One of my buddies is just starting to implement his server at home and I advised him of a quick contingency feature of Server 2008 that I myself have used in the past.

Configuring Disk Mirroring for Windows Server 2008 R2

Now there are countless amount of guides on the net on how to set this up, so I wont go into detail about the steps but I will provide the reason why was ideal for me.

  1. It's Easy
  2. It's Fast
  3. No 3rd party apps needed 
  4. No special hardware needed
  5. Once setup, I dont have to tinker around with it again. (Unless the Hard drive fails)
And of course, I looked at the cons:
  1. It mirrors everything on your original hard drive, including any possible corrupted files, viruses or bad configurations.
  2. Since the server has to write data to 2 different hard drives, performance will be affected.
  3. The backup drive is used just as much as the Primary drive (due to mirroring data)
I understand and I do agree; for alot of people, this is not the ideal backup plan (The first 2 cons are usually a deal breaker for most).  Personally, it was a time where I was just getting myself up and running Server 2008 and needed to have some sort of redundancy up for the O.S drive asap.  Once I was up and running after a little while long while, I had time to tinker around with other features and do my research into what 3rd party app I could look into for backup.  I'm currently fiddling with Symantec Backup Exec but I feel this far exceeds my average backup needs.  

I hope this quick article gives someone a better idea on what route they do plan to follow in their contingency plan.  Here are some more links for those who are interested in setting up different RAIDs in Server 2008.


I would like to hear from any readers out there.  If you do have a backup method, what program or tools do you use and why does it work for you?


Happy Tech-ing!


Wednesday, June 27, 2012

Ironic


So while setting up this very blog, I have discovered that certain templates on blogger has an issue with white text on white background when using Chrome browser.


According to this post, some users confirm having the same issue as me, and no permanent fix has been discussed yet, however some users do give tips on a workaround.

For more details, read here.


Happy Tech-ing!

A quick way of taking screenshots

I just wanted to add a quick reminder for a tool I'd sometimes forget about myself.  This is specifically for Windows 7 and some Vista users (may God help you):

Snipping Tool
Start Menu - > All Programs -> Accessories -> Snipping Tool

  • It's Fast
  • It's easy
  • It's convenient

It allows you to create quick screenshot for any task that may require it within a few mouse clicks.


The tool bar I love due to its simplicity.  I wont go into details about this tool, but you can get more info and a great demo here.


Happy Tech-ing!


No Stereo Mixer

I wanted to blog this issue I had a few days ago before I forgot.


I needed to figure out how to record some audio clips from youtube using the same PC.  We have 3 popular options:


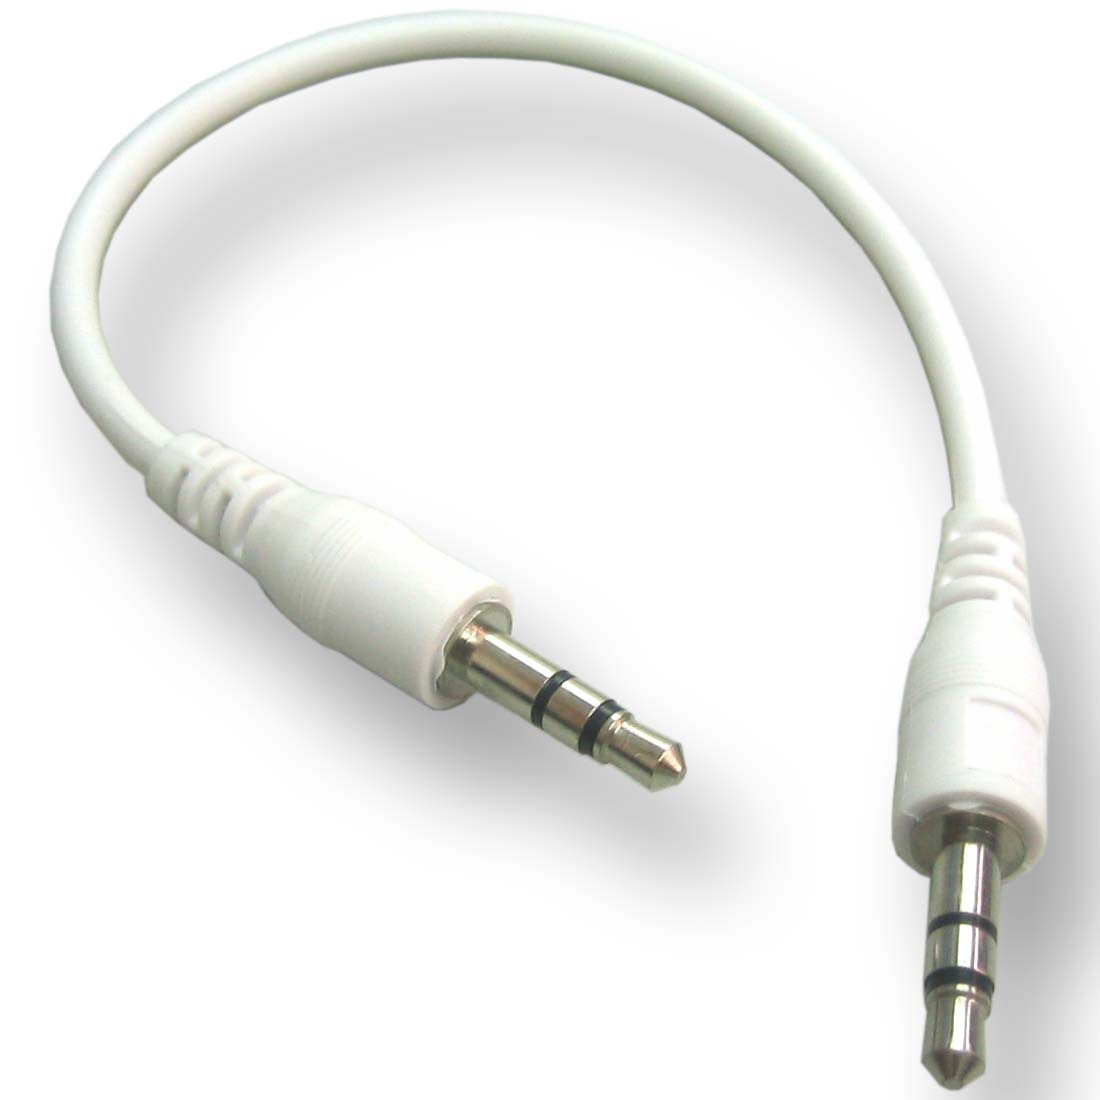
1. Male to Male headphone cable


Plug 1 end to of the cable to the 'audio out' and the other end to 'line-in' on your soundcard.  Adjust volume as necessary.


2. Enabling Stereo Mix option (Windows 7 users)

By enabling the hidden Stereo Mix option under Recording Devices, it should allow you to record any playback on your computer.  For a step by step guide, check How To Geek's guide: How To Enable “Stereo Mix” in Windows 7 (to Record Audio)

3. Using 3rd party apps


There are a few 3rd party apps specifically made for recording audio that comes out of your PC, some better than others, such as AV-Replay and Freecorder.  Personally I'm cautious of installing these types of apps, so read reviews before downloading.

You can find a comprehensive list from the stream-recorder.com forums

Problem:
I opted for choice #2 as I didn't have a free male to male cable and didn't want to install any 3rd party apps.  The issue I had is after selecting 'show disabled devices' the stereo mix icon was still not there.


Solution
Reinstall your soundcard drivers via your manufacturer website.  When I originally installed Win7 I opted to use the soundcard drivers the windows update service provided to me and it seemed to work well.  Little did I know, the updates are known to remove the stereo-mix option and it has been suggested Microsoft purposely does this because of Microsoft’s DRM (Digital Rights Management).

In any case, once after I reinstalled my drivers from my manufacturer (onboard soundcard from MSI aka RealTek) and a reboot, the Stereo-Mix option is now viewable and ready to use.


Happy Tech-ing!

Monday, June 25, 2012

The Prologue

Hello World.


As I sat there staring at my screen, sighing, thinking, and preparing for yet another adventure in computer troubleshooting to fix yet another uncommon problem that I know is not easily solved, I wonder to myself, how long will it take this time? 30 mins? 2 hours? 1 day? or even 1 week?

As I click on the most popular section of my web browser and typed in the 10 most beautiful characters of a computer support technician; google.com, another thought comes into my mind.  What if there is NO fix for this solution? Impossible! The internet has everything, and as part of the Computer Support Species, it is in our DNA to find and answer at all costs!  We shall prevail!

Fast forward 2 1/2 hours later, I am hungry, tired and exhausted.  It seems I have searched across the dark deep depth of the internet.  During my exhaustive journey I've come across:

  • Websites that leads to dead links
  • Websites that blocks your possible answer with an ugly banner telling you to pay
  • Forums that discusses a similar issue but not quite what I was looking for
  • Forums that starts of with the same problem I had, but blows up into an all out argument on grammar structure or other unrelated topics
  • And my favourite, a thread in a forum with the same exact issue that ends with "Nevermind I fixed it!" with no possible explanation on how.


Ray of Hope

At 3am I have exhausted my options for the night, with half closed bloodshot red eyes, I decided to try 1 more forum, with the thread dated 8 years ago.  At this point I already assumed it will lead to nowhere, but what do I have to lose.  Sleeping is for suckers.

But wait, there is a solution for my issue! And it is posted on the thread! in full detail! With rejuvenated energy, I meticulously perform the steps, and by the gods, this solution works!


Thank you random faceless computer man from 8 years ago. 

By Gawd, Thank-you!

An Idea

The next day as I was talking with my girlfriend, describing my voyage of the night before to my solution, she made a simple yet brilliant suggestion: 

"You should post your solutions somewhere so others like yourself can find the solution easier"  
-  The Girlfriend

And thus, is the beginning of this website.  I don't know where this will take us IF it will take us anywhere.  I come across computer problems almost on a daily basis, some harder than others, so I will post as I find solutions that worked for me.  Hopefully this blog is to help other Computer Support Technicians, Admins, Analysis, Computer Geeks/Nerds, or anyone that searches the depths of the internet for that obscure problem.   

But be warned.

The grammar might be bad and paragraph structures will be horrible.  All of these posts will be a quick copy/paste  from various sources I've found on the internet with very minimal editing by myself.  The goal of all my blogging:
  • Get in
  • Post solution (that worked for me)
  • Get out

Man, this post is long.  


Happy Tech-ing!